Installing Wave AI: Get work done fast in Salesforce
What is Wave AI?
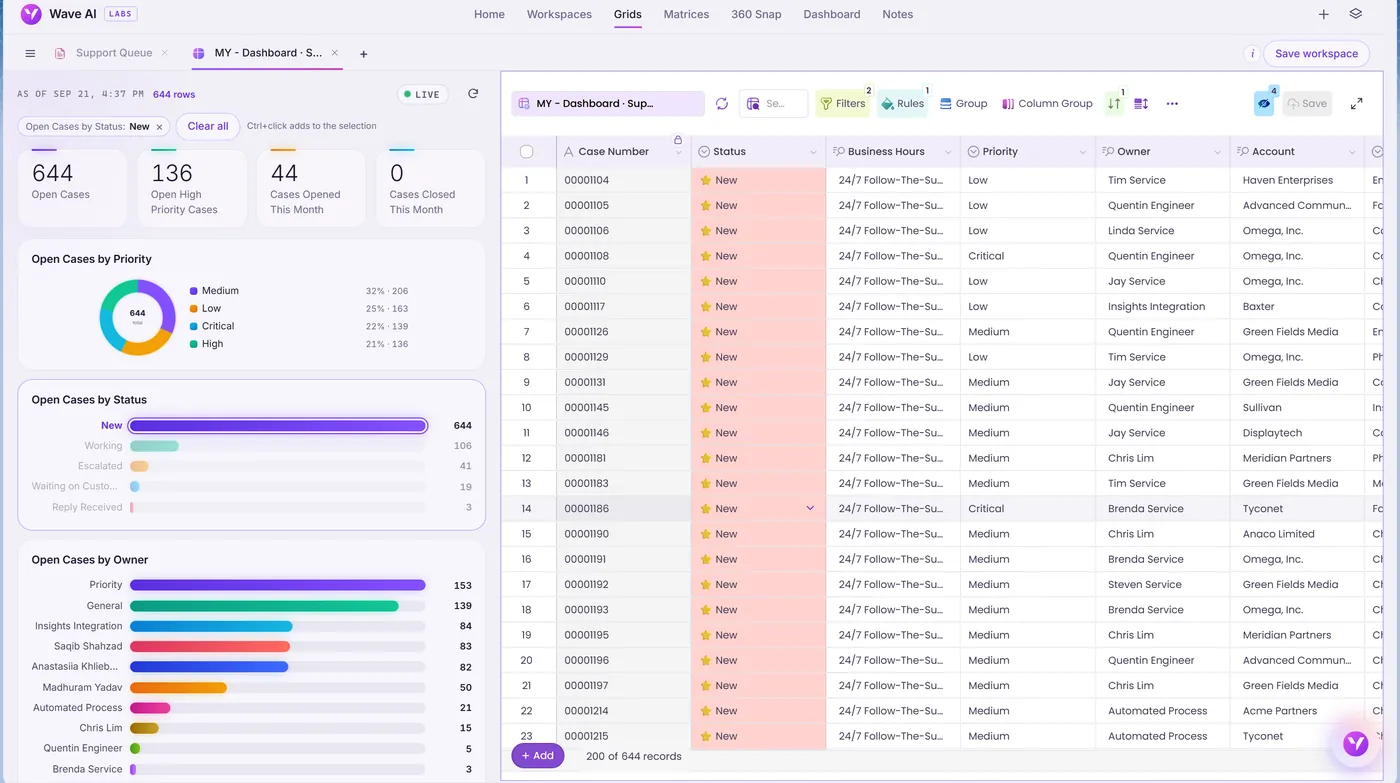
Wave AI is an AI surface for Salesforce. It connects your data model, objects and personas, so your team can create grids by prompting instead of configuring them field by field. Wave AI runs on the Valorx Wave managed package, so installing that package is your first step.
Salesforce work, two ways
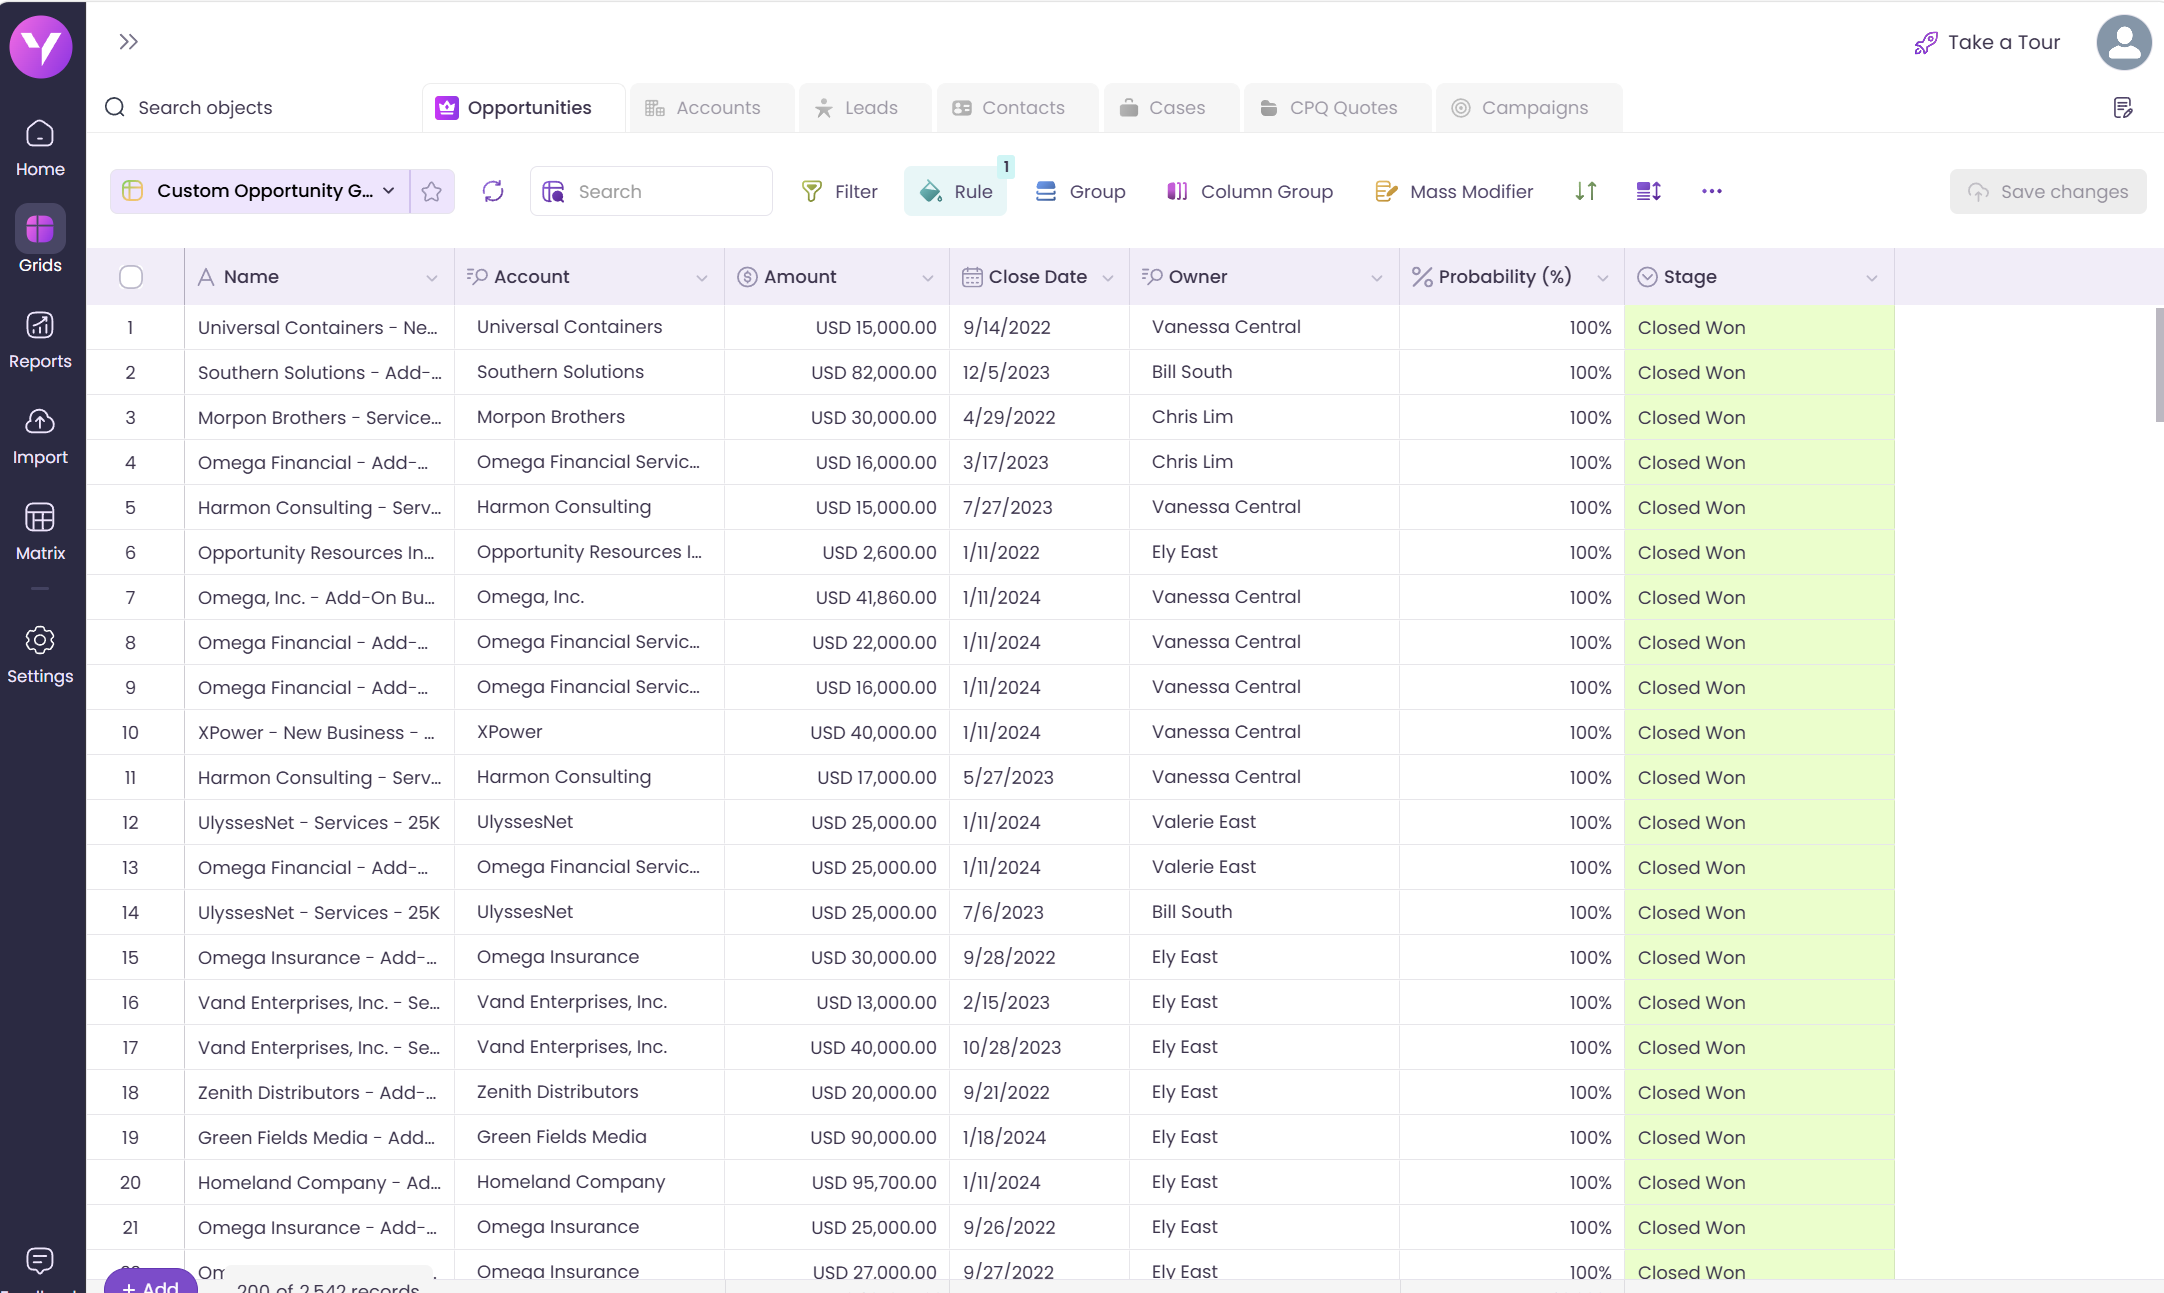
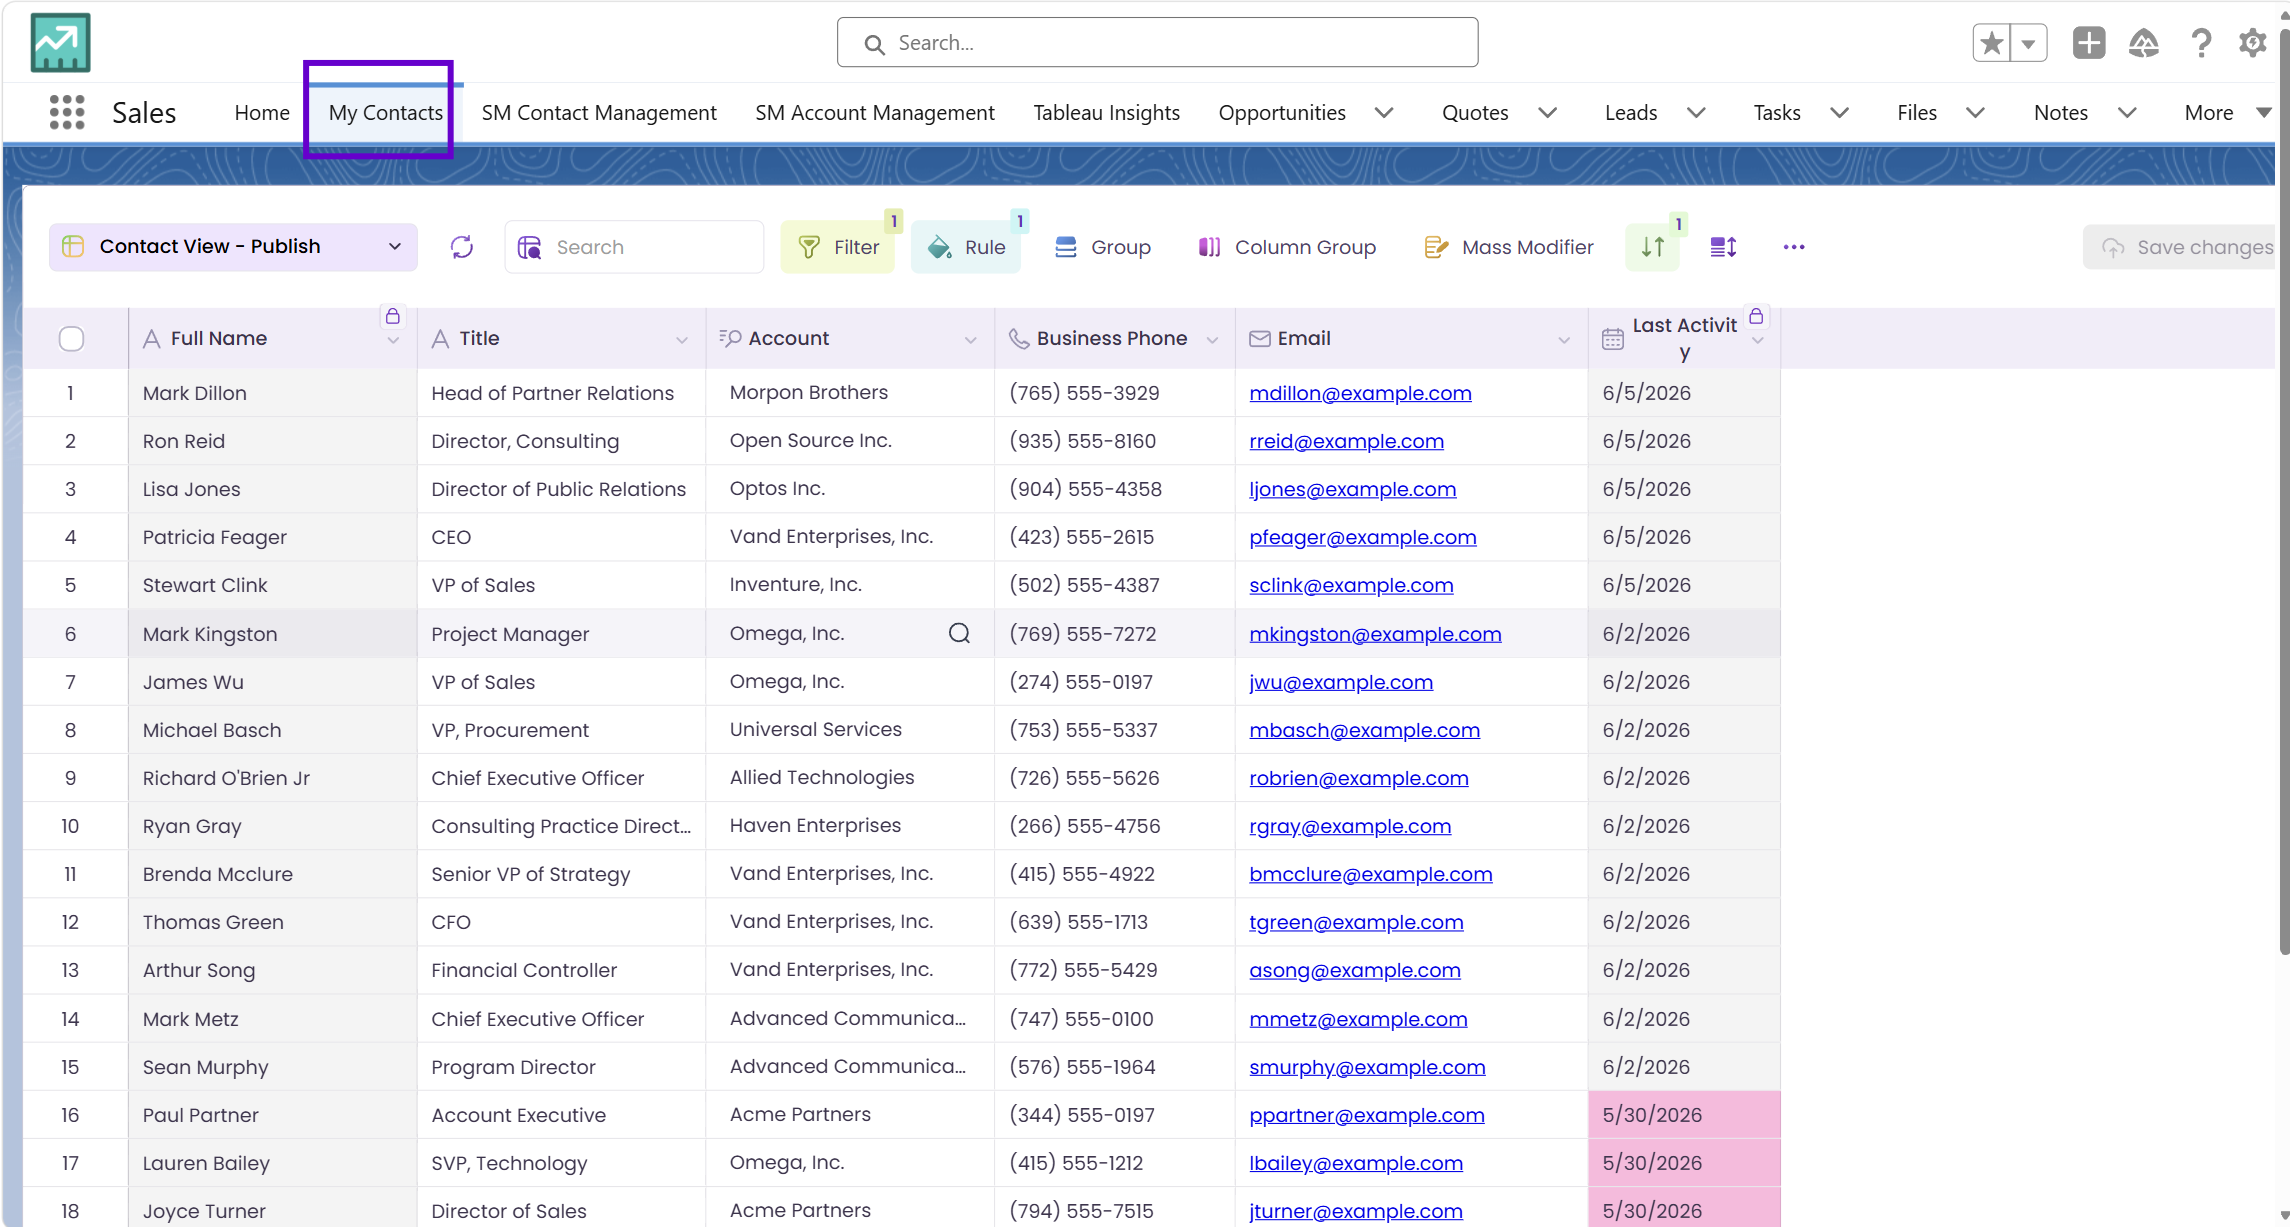
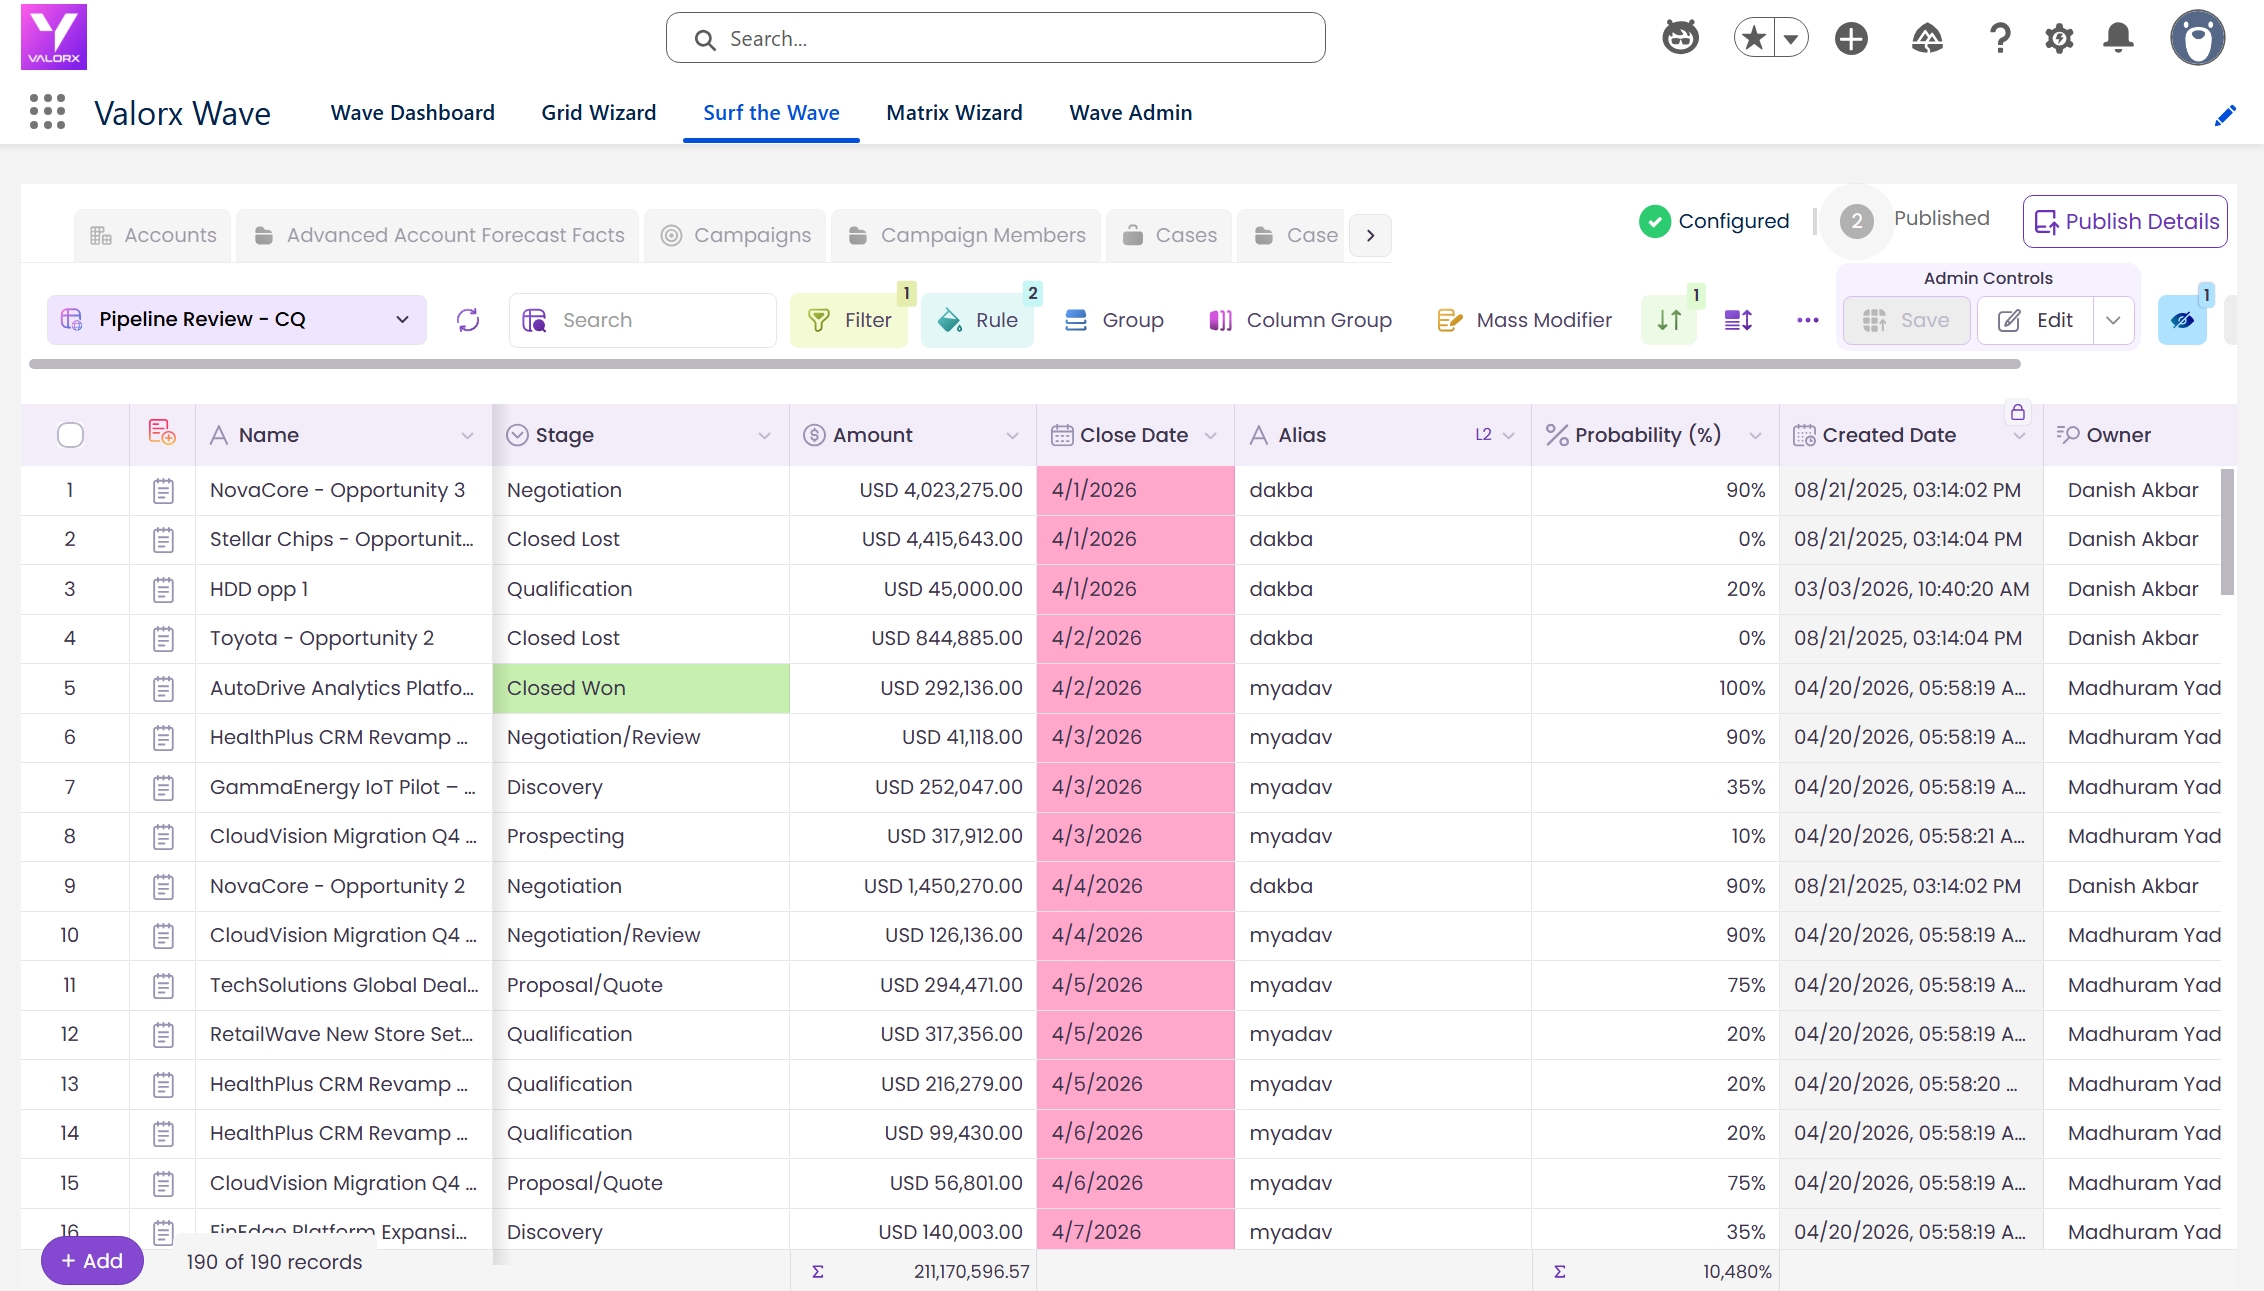
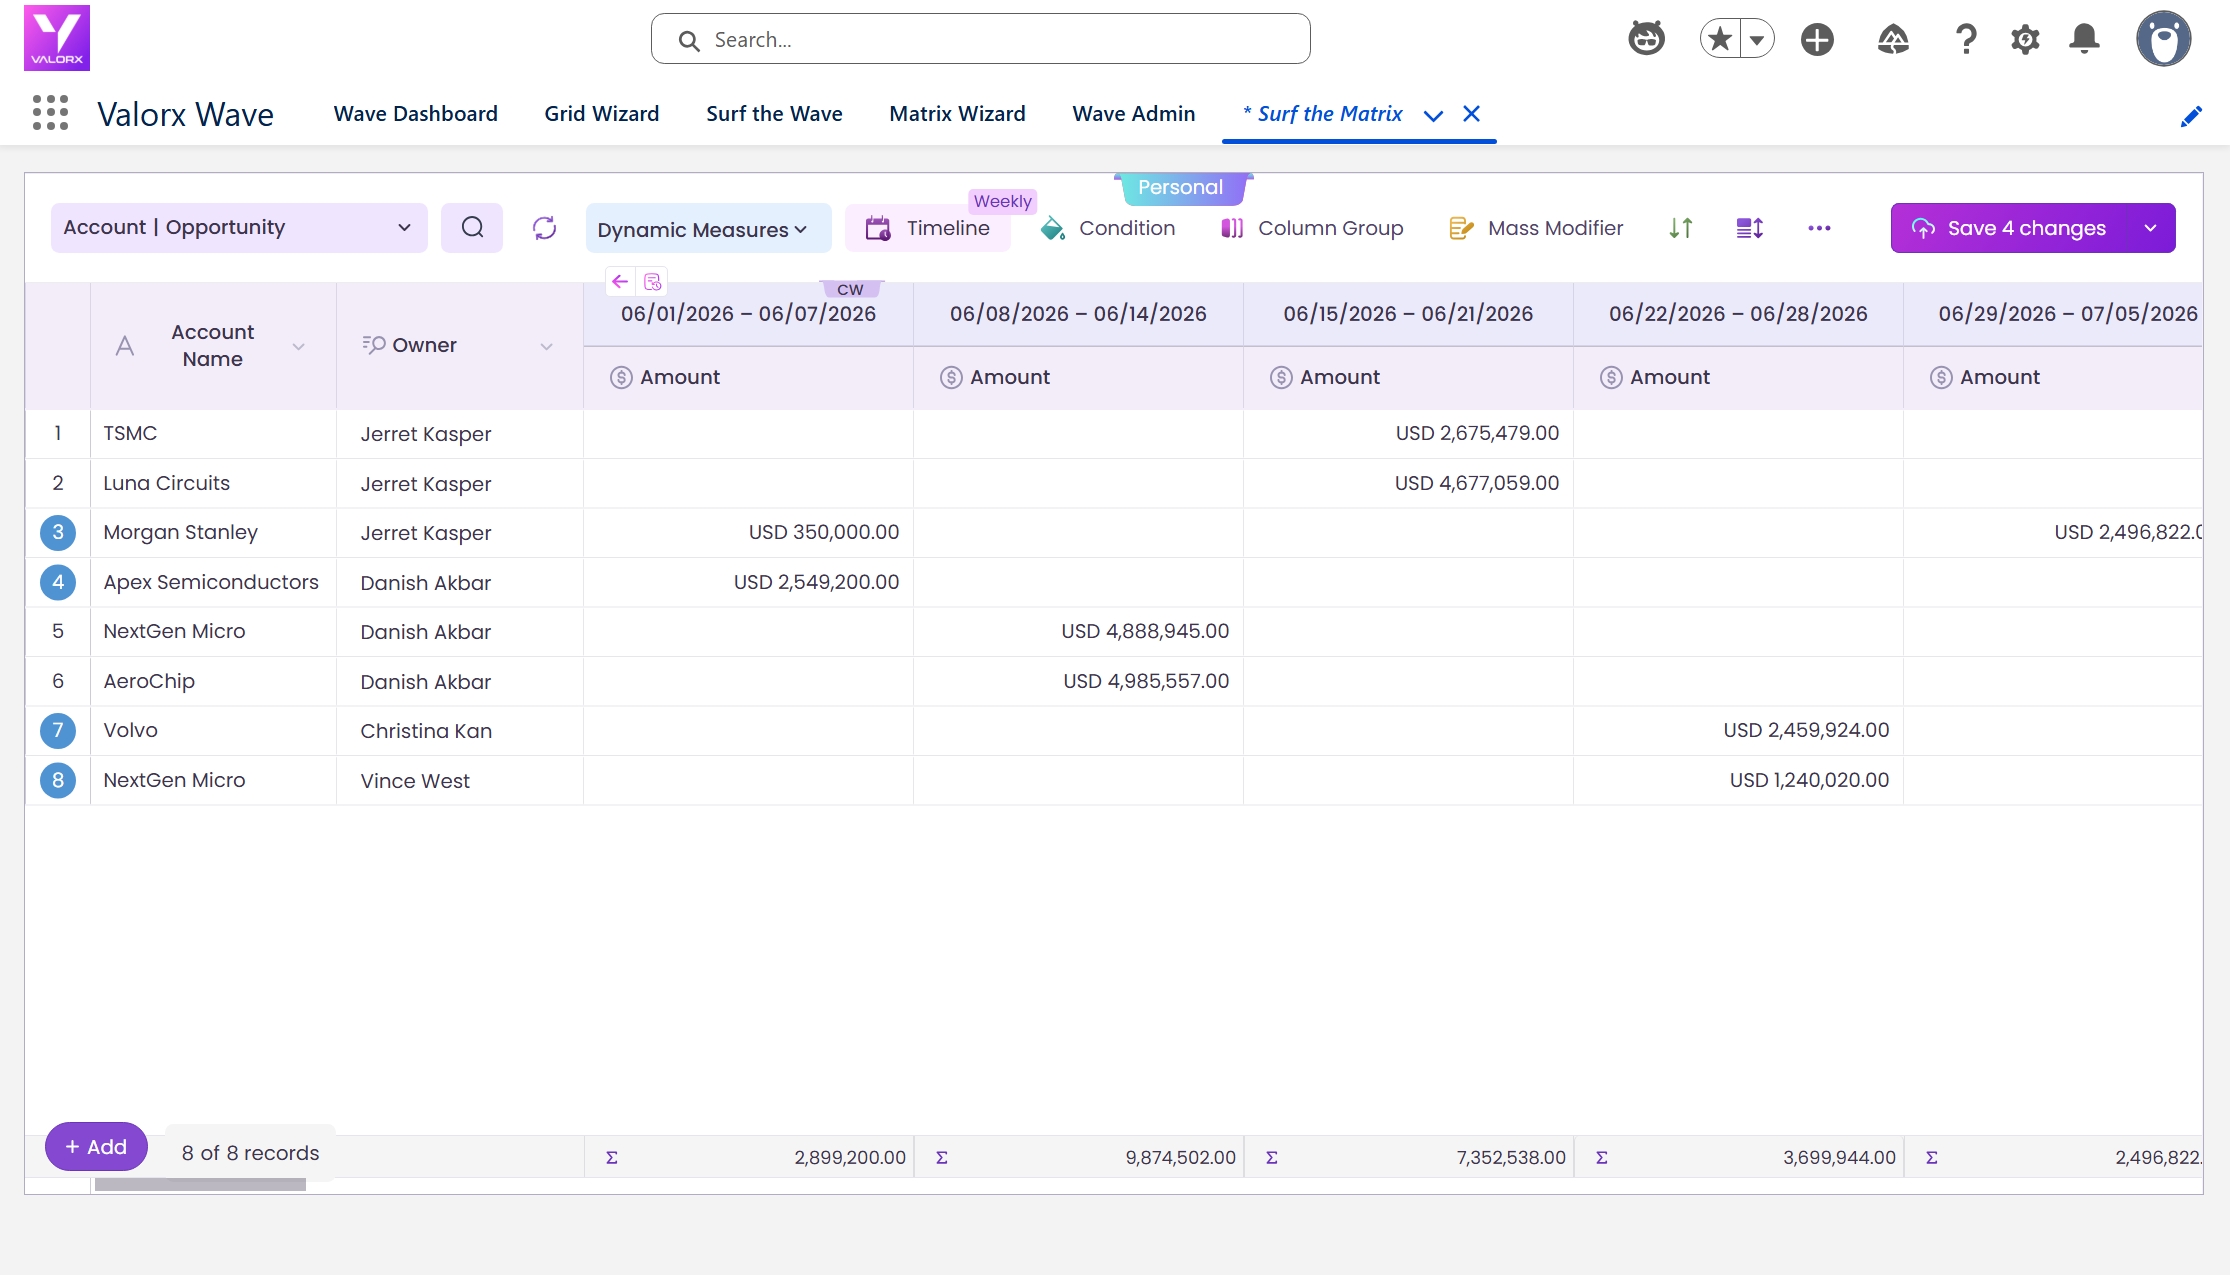
What changes for your team once Wave AI is installed.
Not a Salesforce admin? Share this guide
Installing Wave AI needs System Administrator access in Salesforce. If you want to use Wave AI but aren't the admin, send this guide to your Salesforce Admin. They can complete every step below in one sitting, usually in 15 minutes.
Prefer to see it first? Click through the interactive walkthrough below:
Before you start
Time: 15 minutes to install, up to 30 with user setup | Role: System Administrator | Platform: Salesforce (Production or Sandbox)
Prerequisites
- System Administrator access to the Salesforce org you're installing into
- Your org connected to your Trailblazer account, so AgentExchange can install into it
- Your Wave AI beta invite, plus a list of who will build grids (Designers) and who will use them (Standard Users)
Who needs what
Every Wave AI user needs three things: a license, a role and a matching permission set. Here's a typical beta rollout.
Install Wave AI
We'll install into a production org. Sandbox installs follow the same steps, and license assignment is generally not required there.
Step 1: Get Valorx Wave from AgentExchange
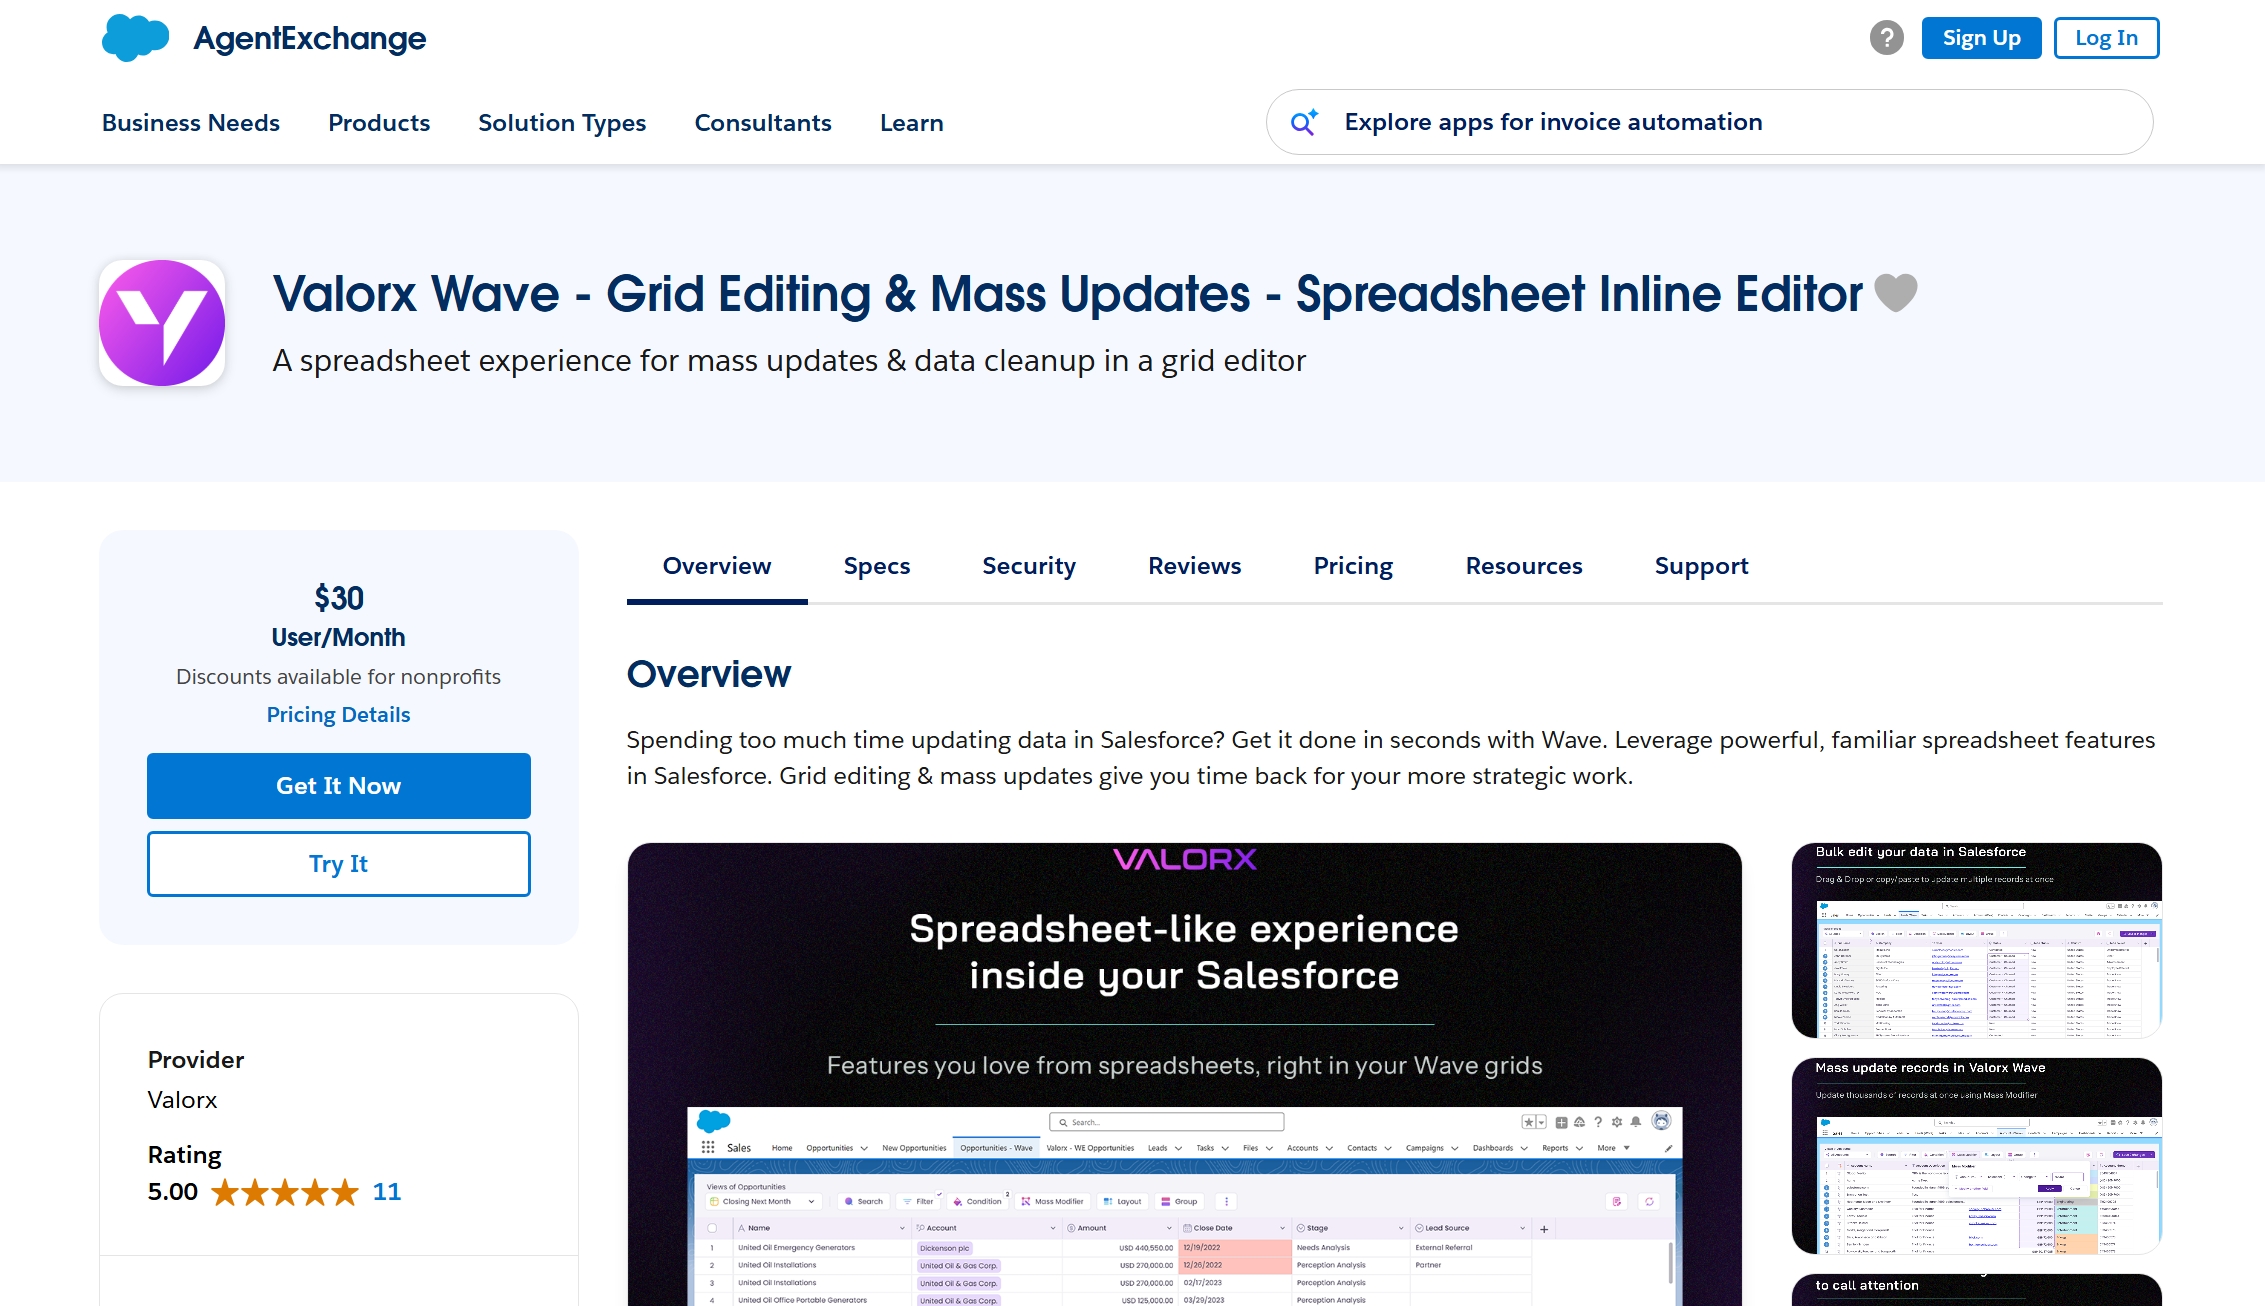
- Open the Valorx Wave listing on AgentExchange. Log in if prompted and make sure your org is connected to your Trailblazer account.
- Click Get It Now to start the install.
Step 2: Choose your installation environment
- In the install pop-up, pick the connected Salesforce account for the org you want. Click Install in Production.
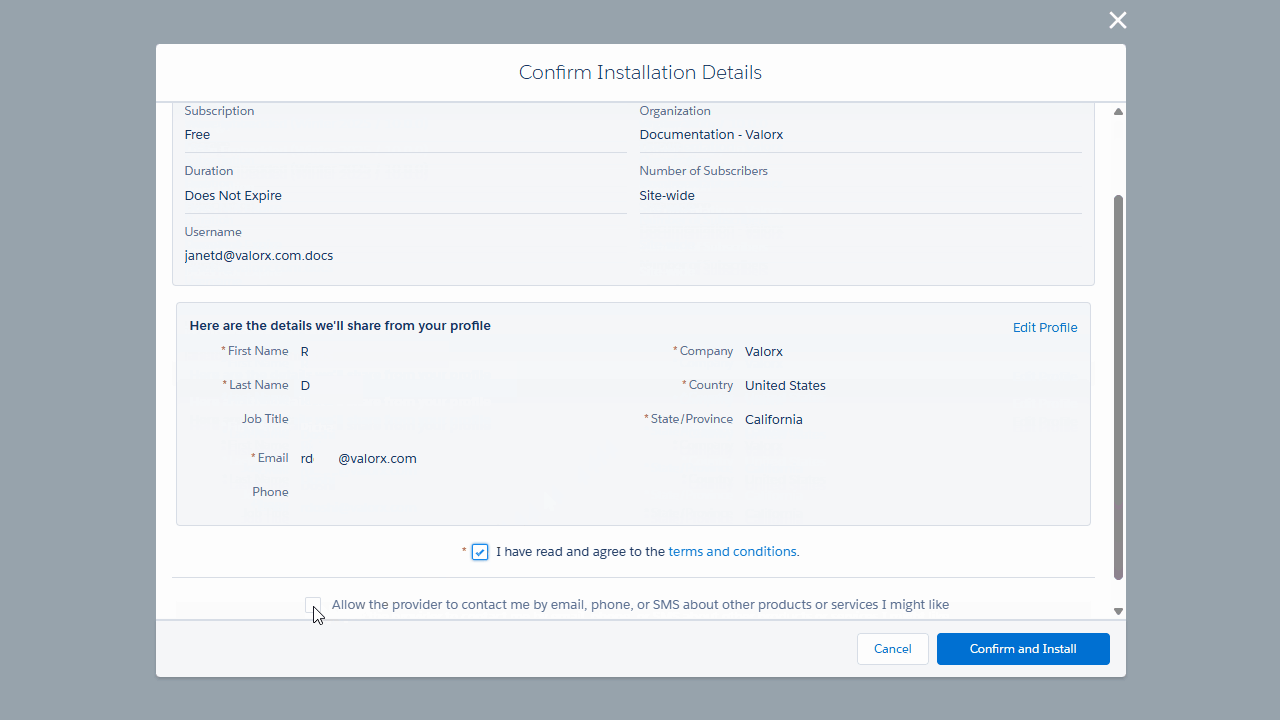
- Review the installation details, check the terms and conditions box, then click Confirm and Install.
Installing into a sandbox? Click Install in Sandbox instead.
Step 3: Choose who gets access
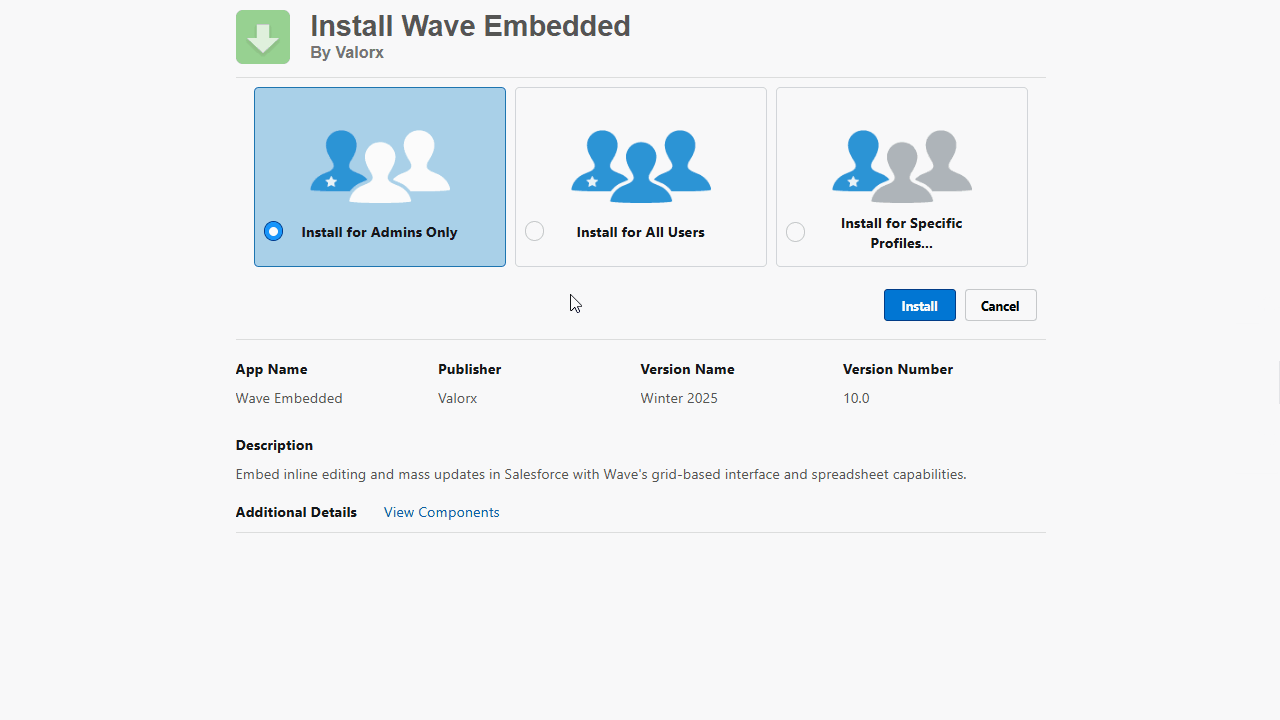
- Sign in to your Salesforce org. Salesforce asks who should have access to the package:
- Install for Admins Only: Only System Administrators can use the app.
- Install for All Users (recommended): Everyone in your org can reach the app.
- Install for Specific Profiles: Pick the profiles that get access.
- Click Install and wait for the install to finish.
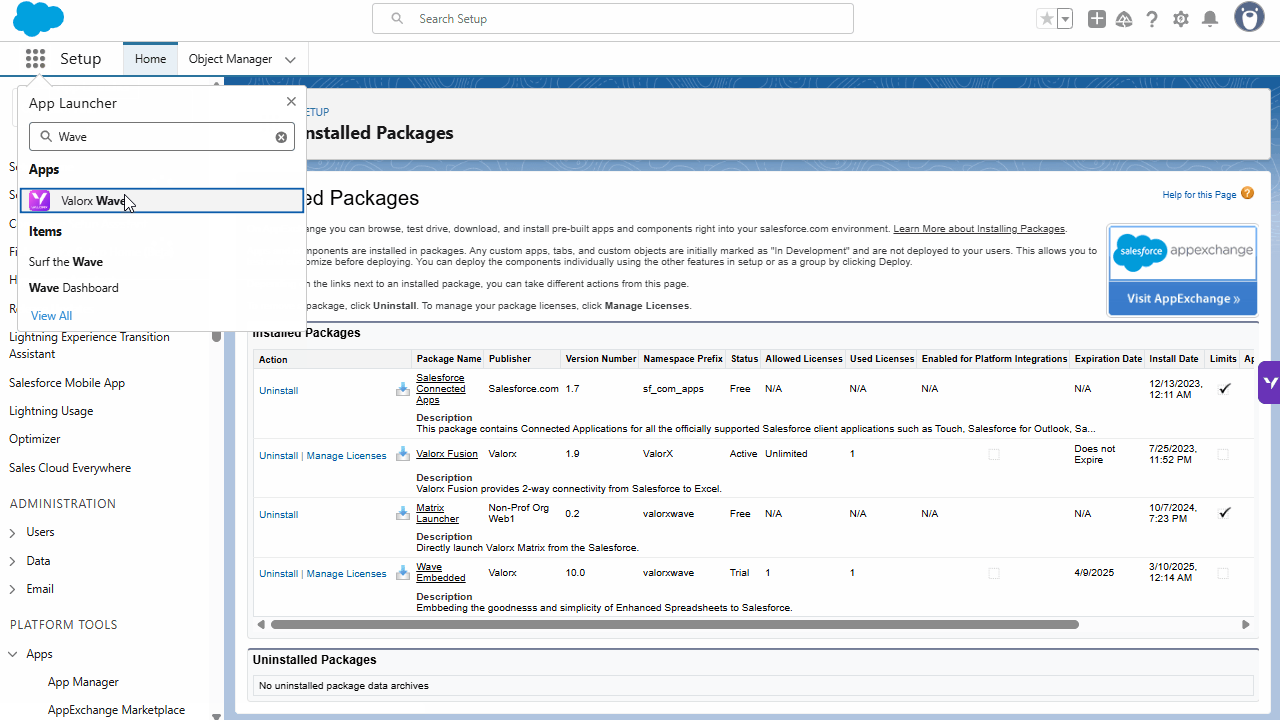
The install screen may show the package as Wave Embedded. That's the correct package.
Tip: Pick Install for All Users. You still control who actually uses Wave AI through licenses, roles and permission sets in the next steps.
Step 4: Assign licenses
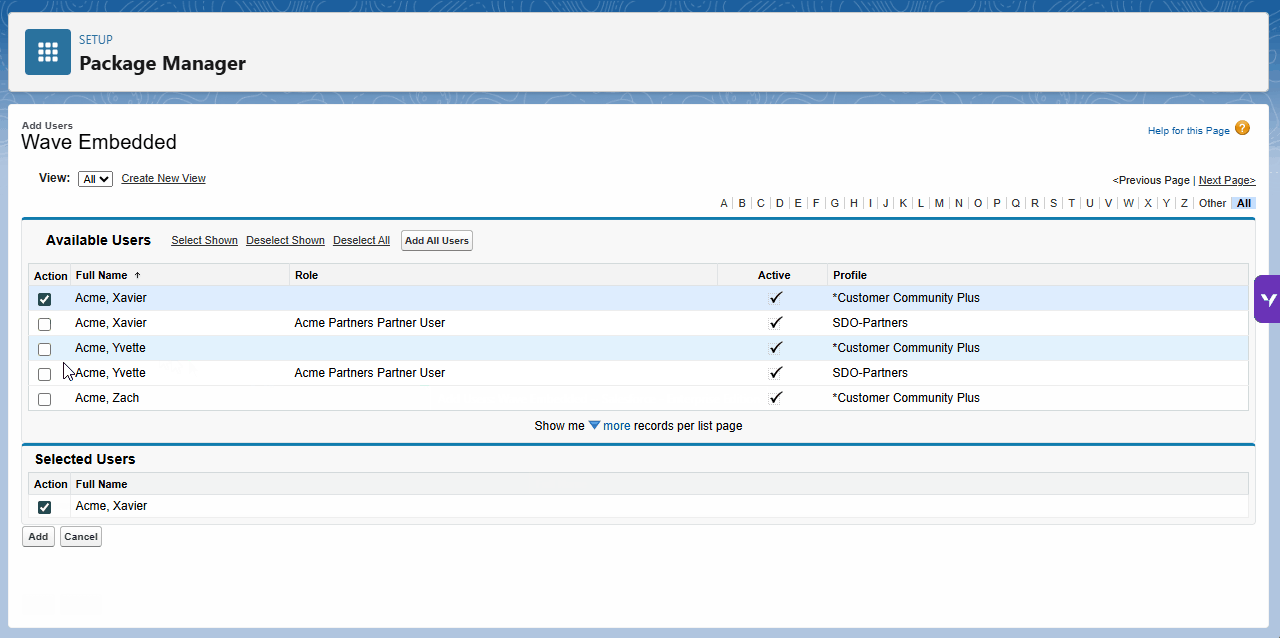
- Only licensed users can use Wave AI. In Setup, search for Installed Packages, find the Valorx Wave package, and click Manage Licenses.
- Click Add Users, check the users who need Wave AI, and click Add. They now appear under Licensed Users.
Tip: Watch Allowed Licenses vs. Used Licenses at the top of the page. License assignment is generally not required in sandbox orgs.
Step 5: Add the Valorx Wave User Access field (one time)
This field is how you set each user's Wave role. You only add it to the layout once.
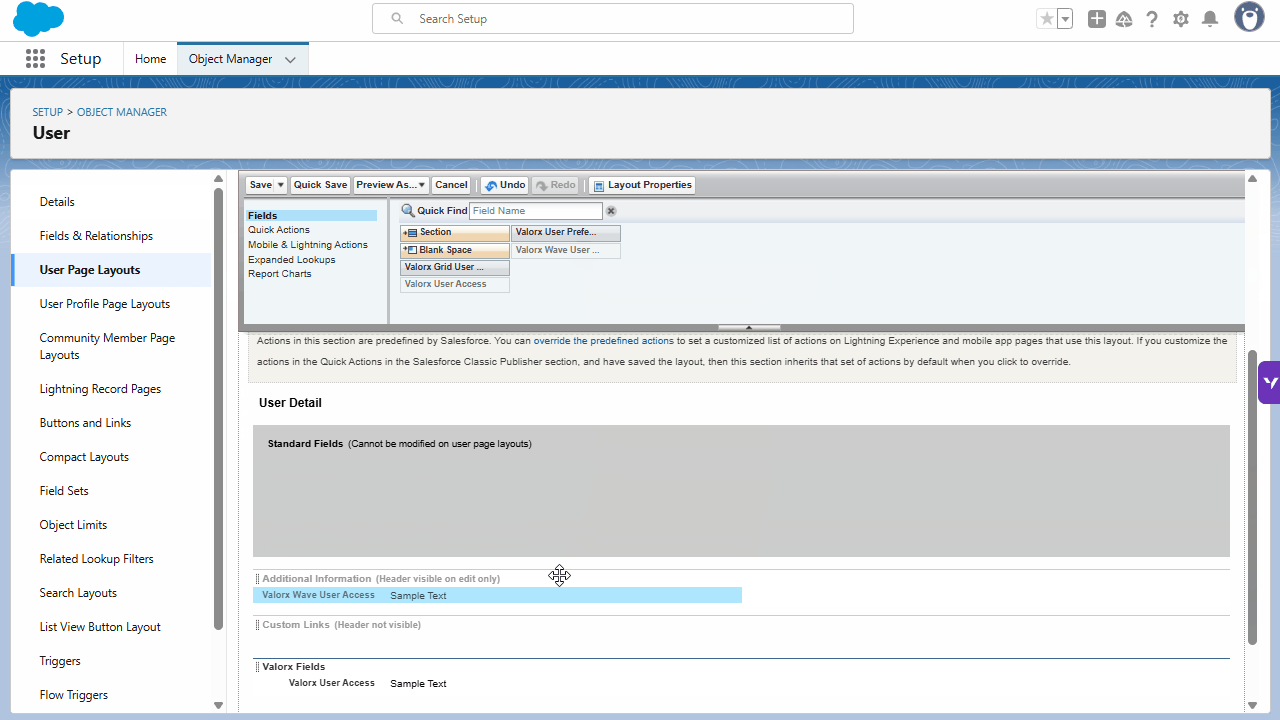
- Go to Setup, then Object Manager, then User. Click User Page Layouts and open User Layout.
- Find Valorx Wave User Access in the Fields panel and drag it into the Additional Information section. The section turns green when it's placed. Click Save.
Tip: Using more than one User page layout? Add the field to each layout your admins use.
Step 6: Assign each user a role
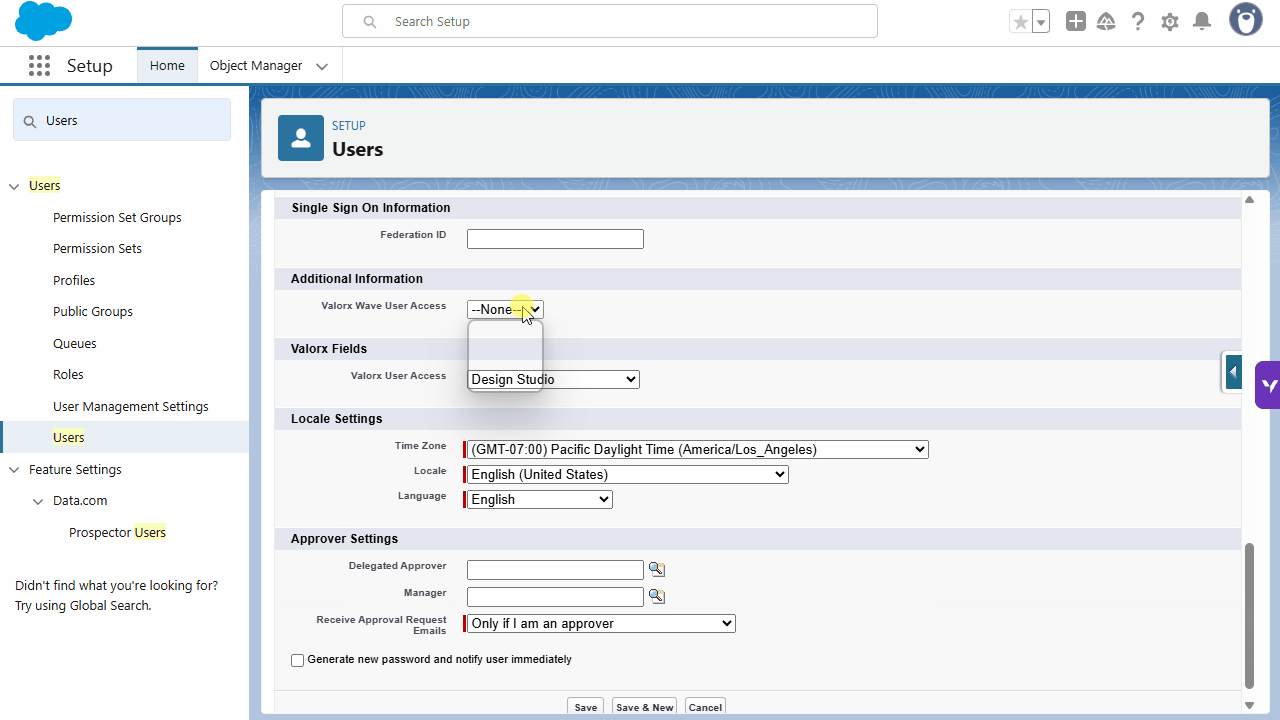
- In Setup, search for Users, open the user, and click Edit. Set Valorx Wave User Access to the right role:
- Designer: Creates and configures grids and manages settings. Recommended for admins and the people building grids with Wave AI.
- Standard: Uses the grids Designers share with them.
- Click Save. Repeat for each new Wave AI user.
Tip: The admin who installs the package becomes a Designer automatically. Other admins start as Standard Users the first time they open Wave.
Important: Role and permission set must match. A Designer with the Standard permission set can't build grids.
Step 7: Assign the permission set
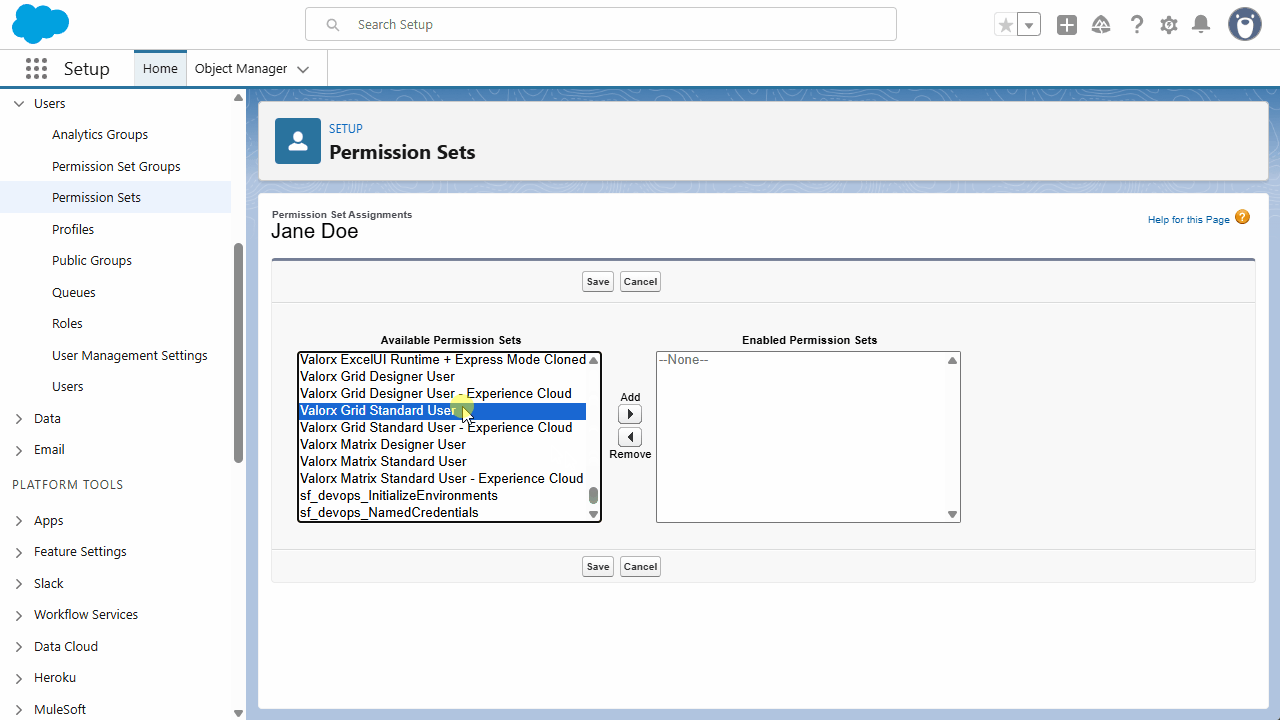
The permission set unlocks the Wave Dashboard, Grid Wizard and Surf the Wave. Match it to the user's role:
- Designer: Valorx Grid Designer User
- Standard: Valorx Grid Standard User
- Open the user, scroll to Permission Set Assignments, and click Edit Assignments.
- Move the matching set to Enabled Permission Sets and click Save.
Tip: Rolling out to a whole team? Go to Setup, then Permission Sets, open the set, and click Manage Assignments to assign many users at once.
Step 8: Confirm the install and open Valorx Wave
- Click Done. Salesforce opens Installed Packages so you can confirm the version.
- Open the App Launcher (the waffle icon in the top left), search for Valorx Wave, and open the app. The package is installed.
Troubleshooting
Something's not working? Match what you're seeing to the most likely cause below, then jump to the step that fixes it.
What happens next
Once setup is done, your onboarding session walks your team from install to their first prompted grid. Come with one list or report your team rebuilds often. That makes a great first prompt.
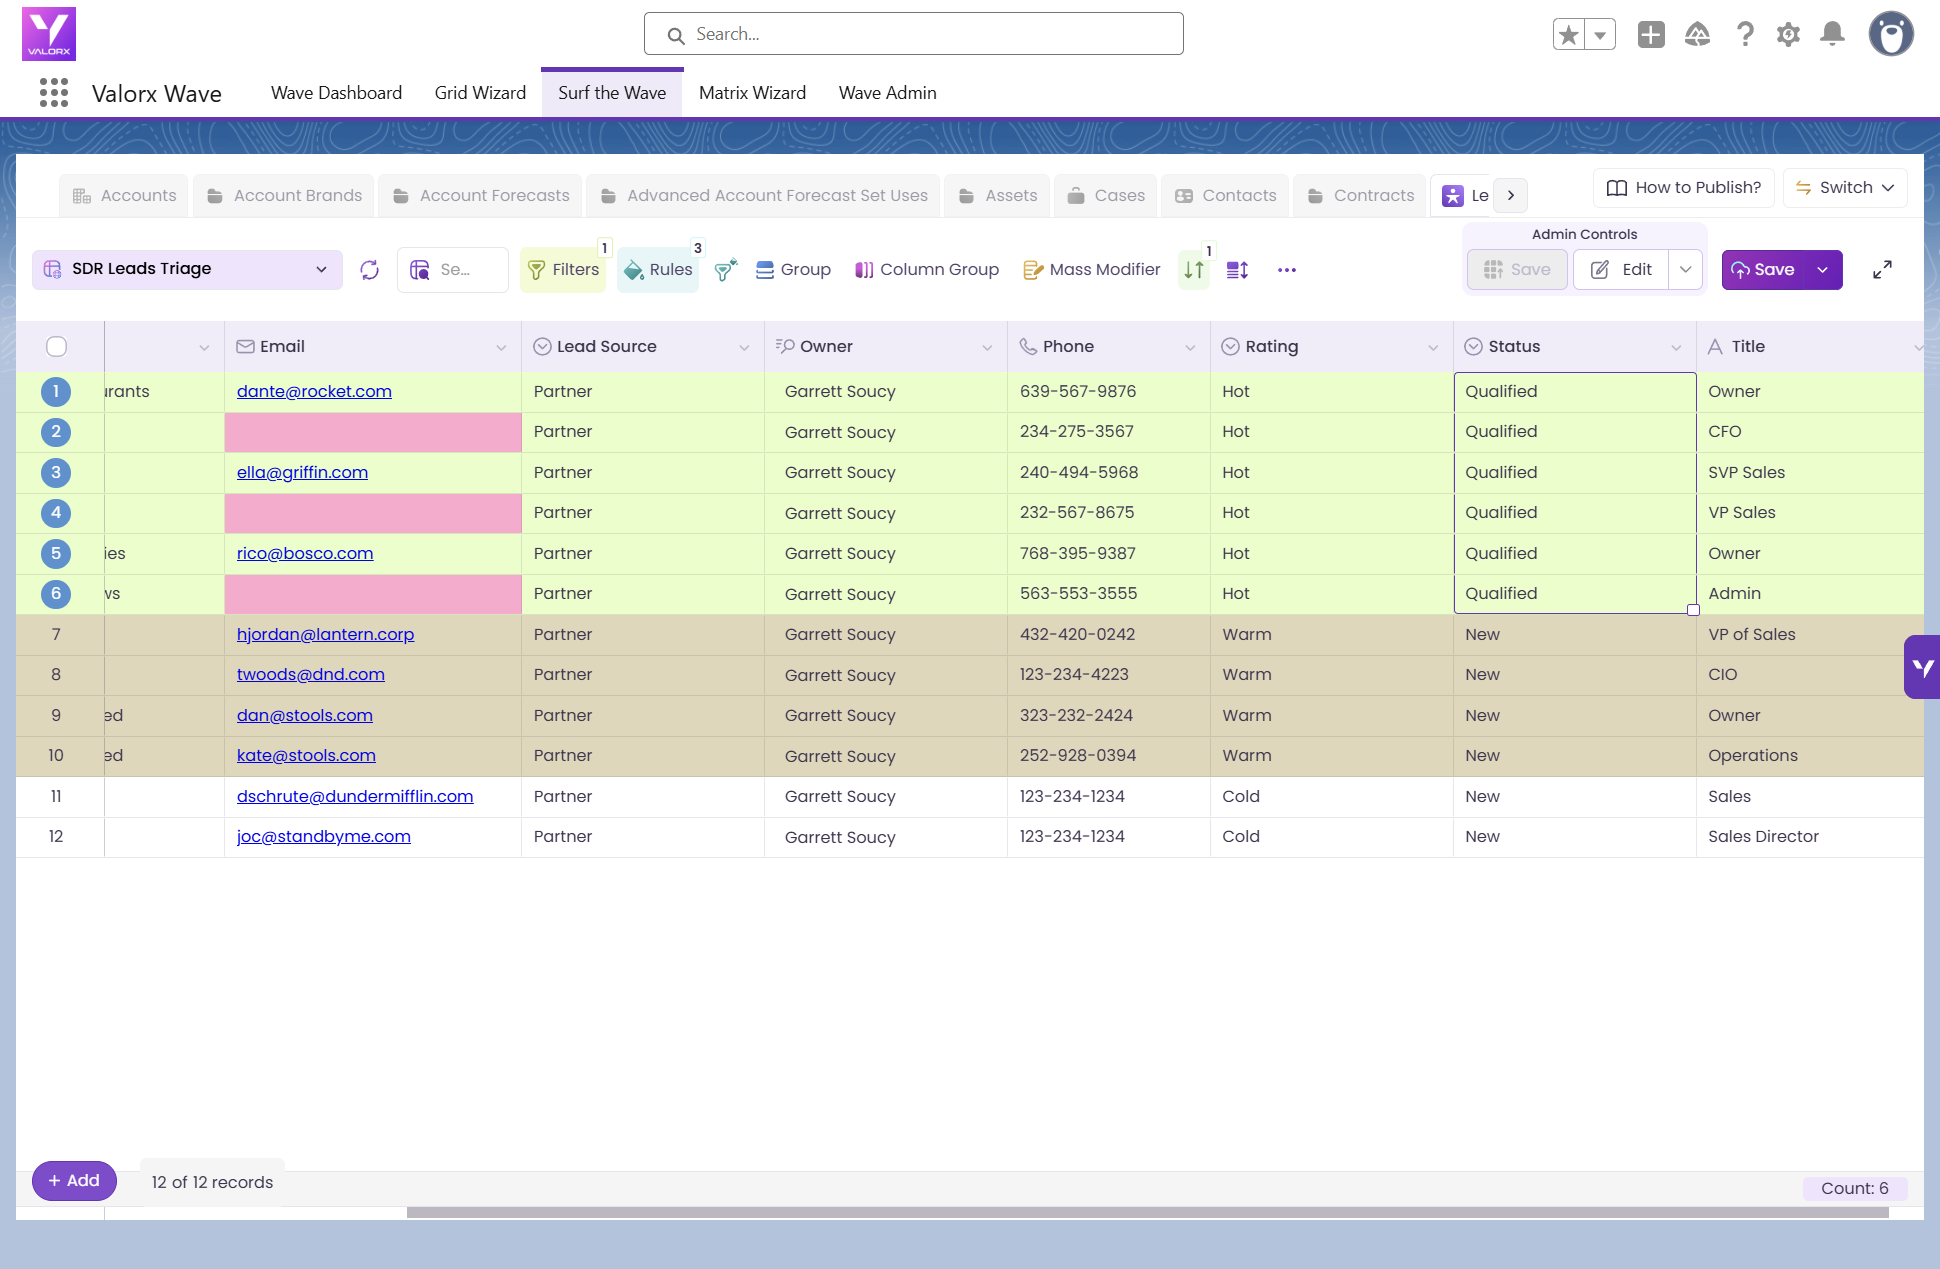
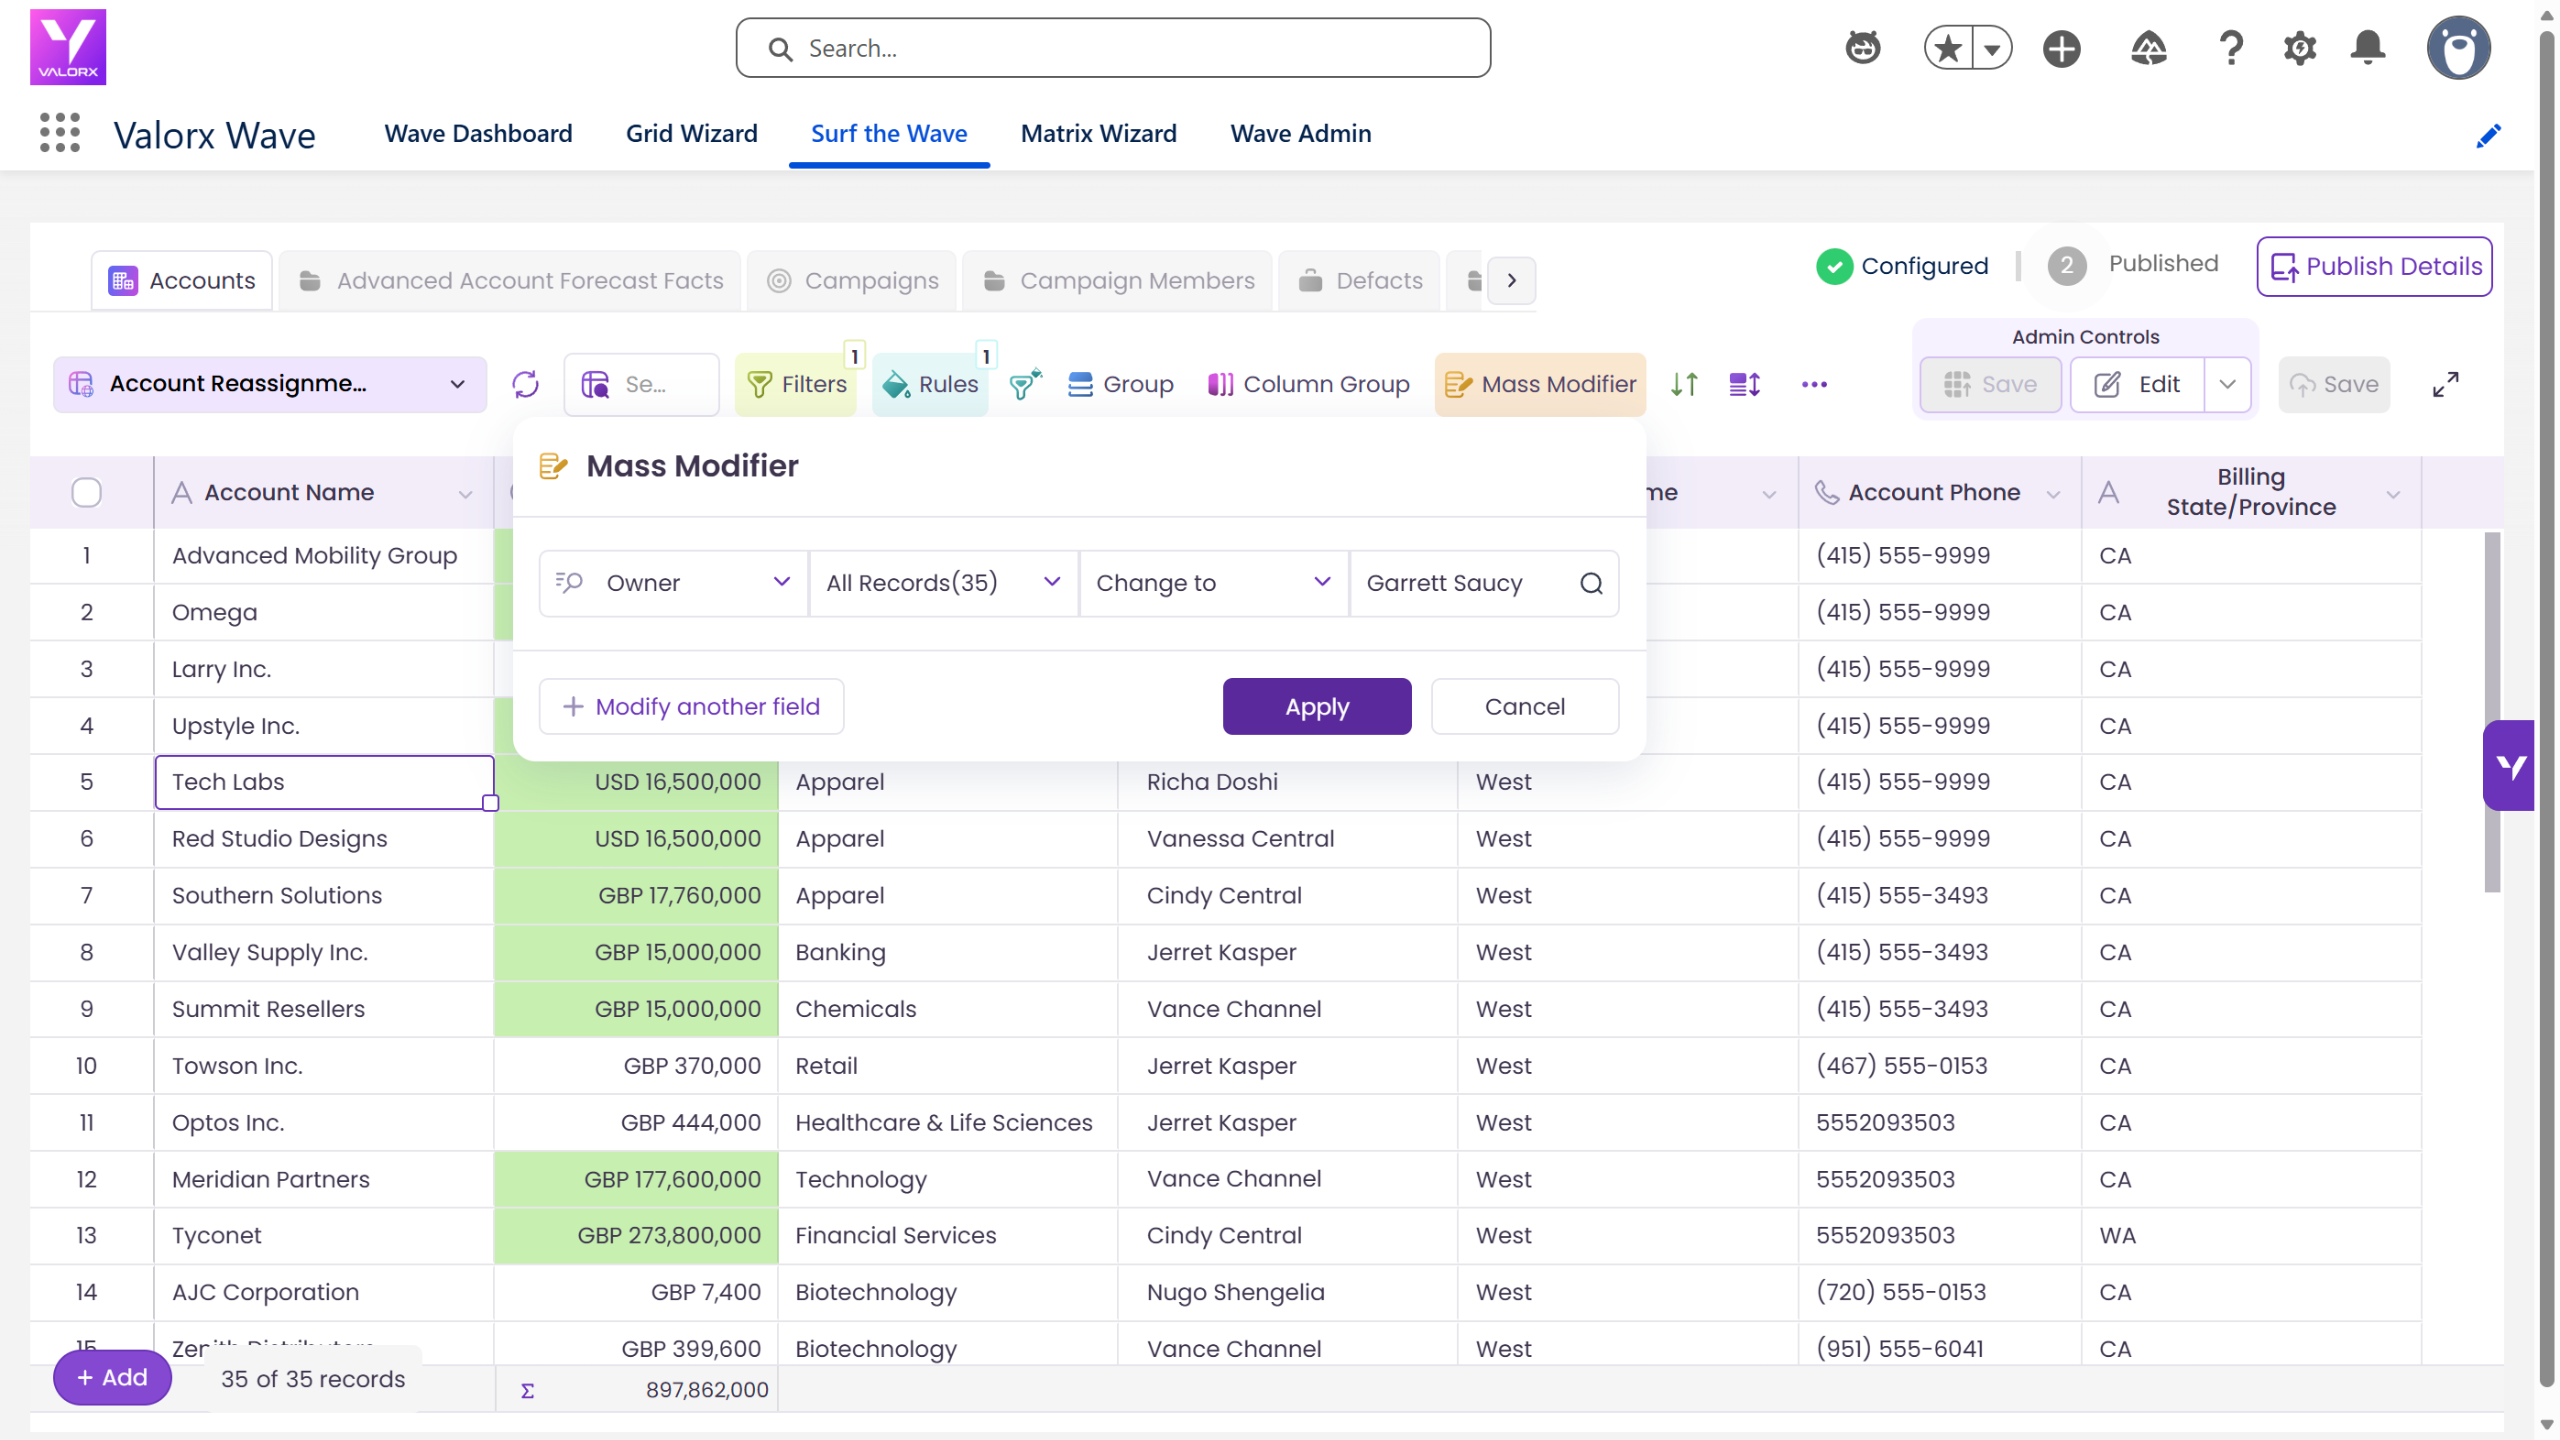
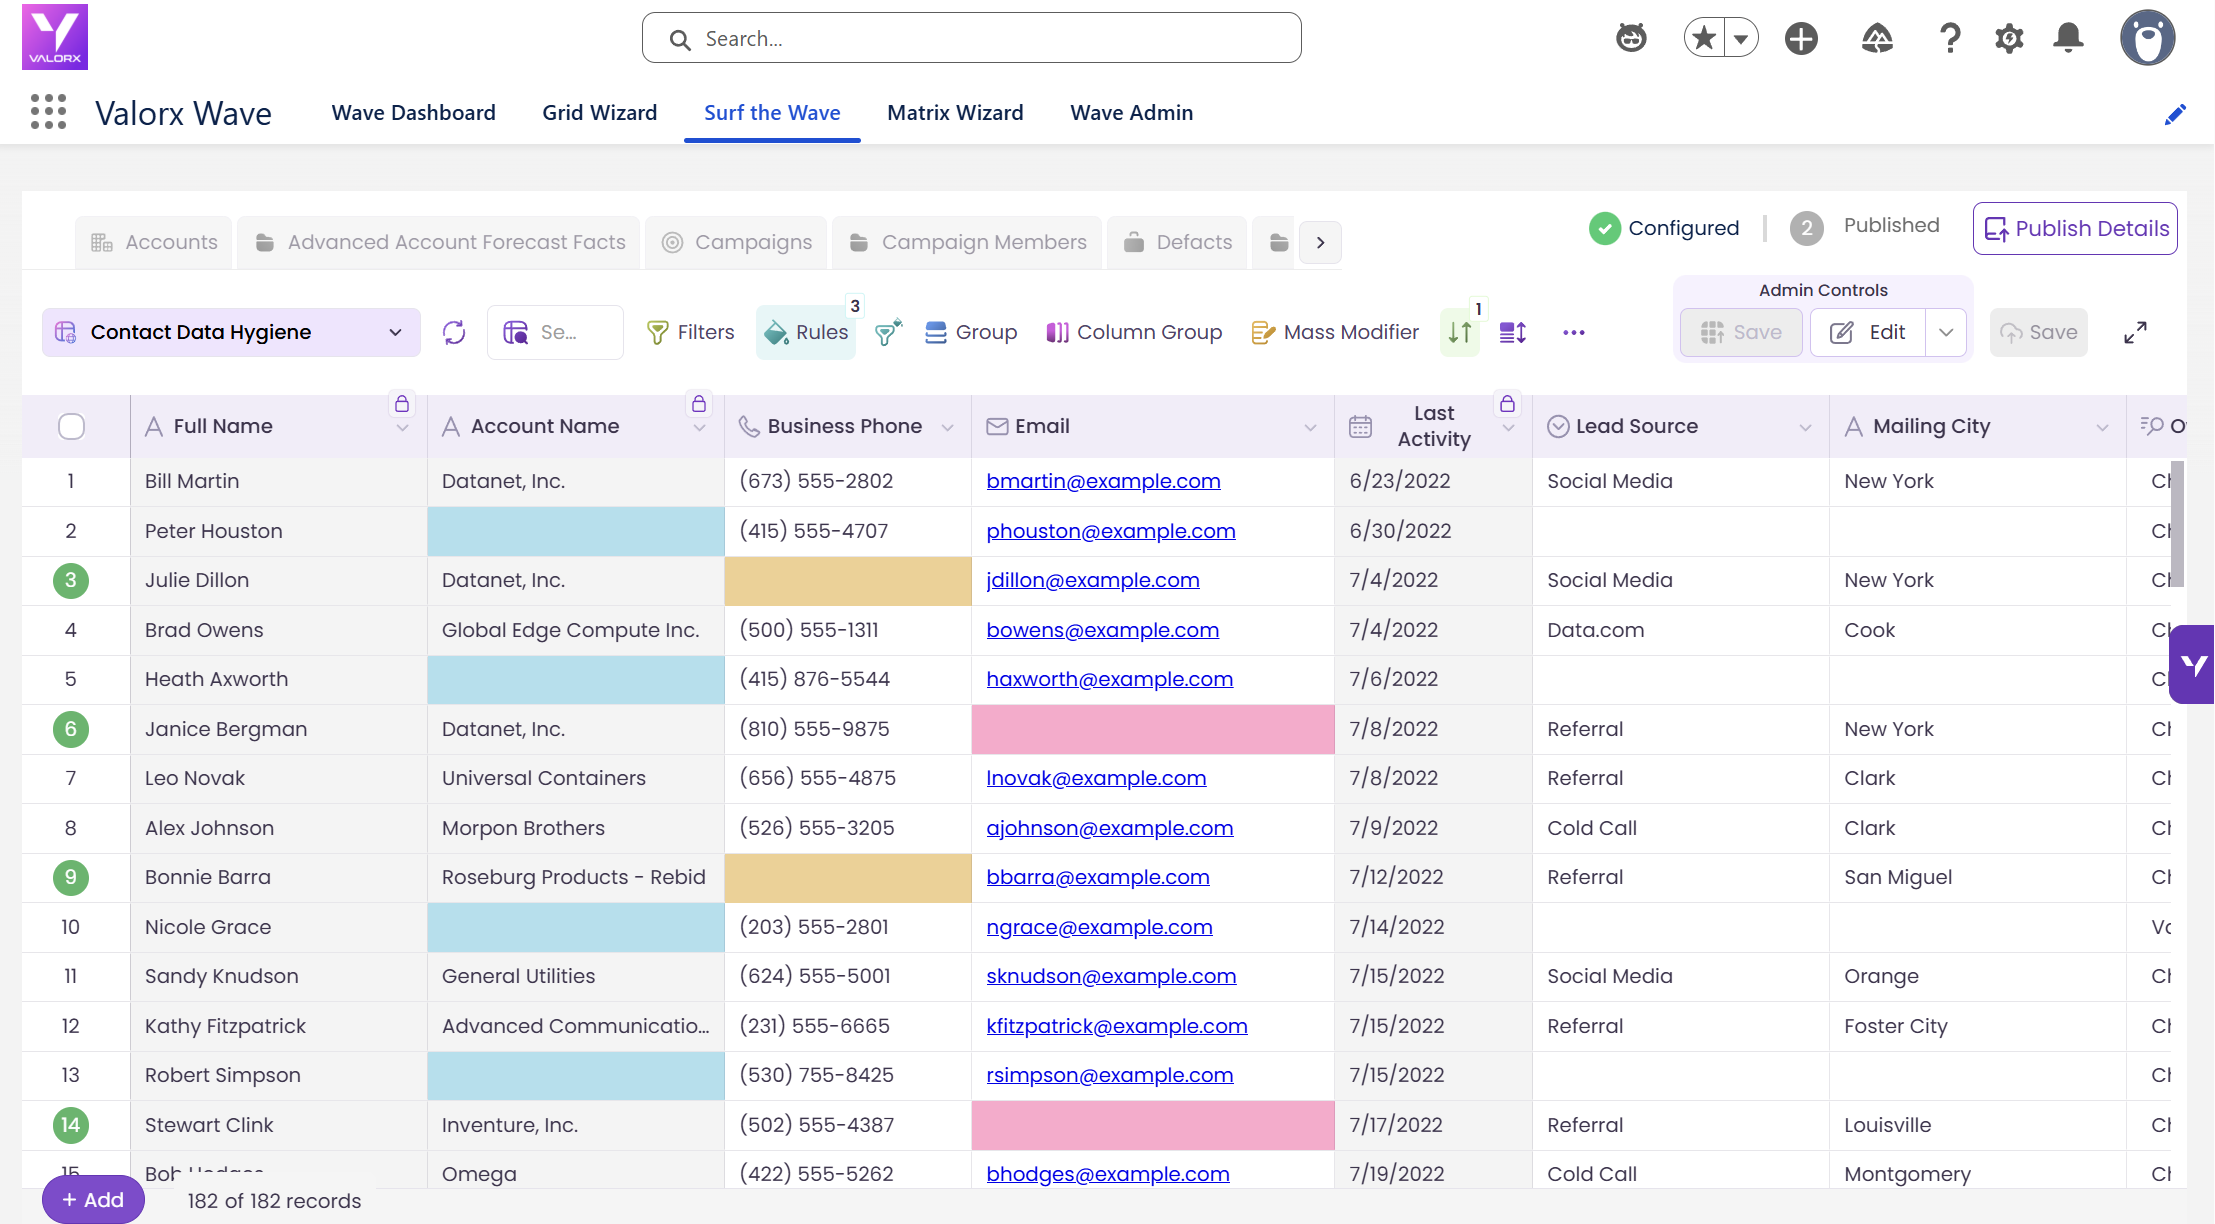

Choose the workflow you need:
Try Wave in browser Extension

Try Wave in Salesforce

Try Fusion In Excel

Enhancing Salesforce for industry leaders